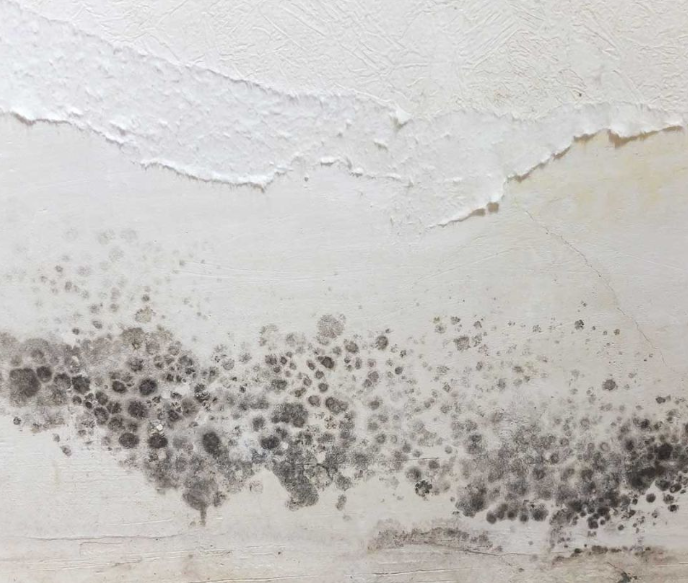
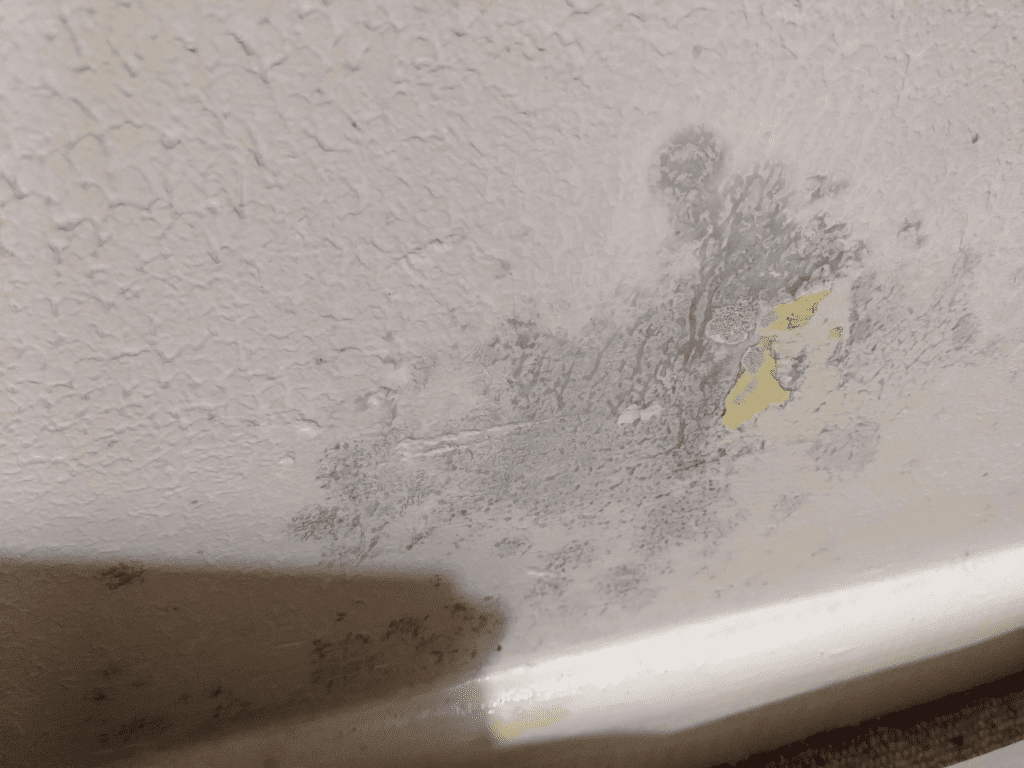
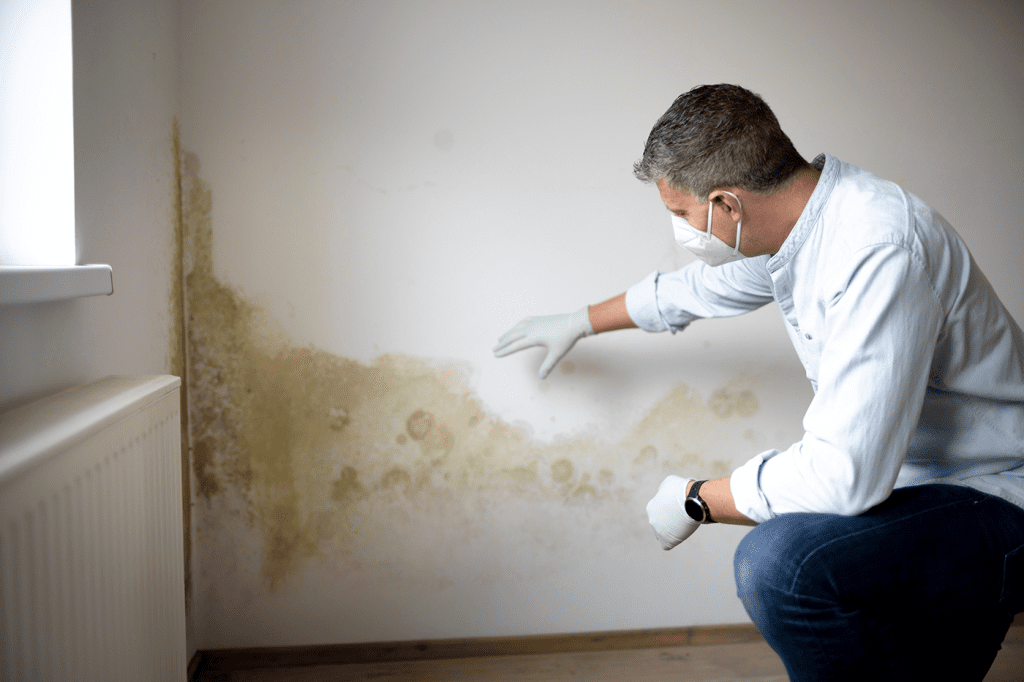
Mold on walls is an all-too-common problem in homes, especially in areas prone to dampness, like bathrooms and basements. Not only is it unsightly, but mold can also pose health risks, from allergies to respiratory issues. If you’ve ever struggled with removing mold, you probably know how tough and time-consuming it can be. But what if I told you that my nana has a trick that makes mold removal almost effortless? In this article, I’ll share her tried-and-true method using simple, safe, and natural ingredients.
Why This DIY Mold Removal Trick Is a Game Changer

Forget about harsh chemicals and endless scrubbing—this mold removal technique is a game changer. It relies on common household items that are both affordable and environmentally friendly. What makes this method even better? It requires minimal effort and delivers powerful results. Whether you have a busy schedule or simply want a hassle-free solution, my nana’s trick will get rid of mold without making you break a sweat.
Materials You Will Need for the Mold Removal Trick
You’ll be pleased to know that this method doesn’t involve any specialized tools or toxic chemicals. You can get started with a few basic items you likely already have at home:
- White vinegar
- Baking soda
- A spray bottle
- A microfiber cloth or sponge
- A small bowl
- Water
- Protective gloves (optional but recommended)
With these materials on hand, you’re ready to tackle that stubborn mold and restore your walls to their former glory.
Step-by-Step Guide to Preparing Your Walls
Before diving into mold removal, it’s important to prepare the area properly. Good preparation ensures a smoother and safer cleaning process. Here’s what to do:
- Ventilation is Key: Open windows and doors to allow fresh air to circulate. Proper ventilation helps prevent mold spores from spreading and reduces your exposure.
- Lightly Mist the Area: If the moldy spot is dry, lightly spray it with water to prevent spores from becoming airborne during the cleaning.
- Glove Up: While not strictly necessary, protective gloves can help protect your skin, especially if you have sensitivities. It’s always better to play it safe when dealing with mold.
Applying the Mold Removal Solution
Now it’s time for the magic! This solution is incredibly simple yet highly effective. Here’s how to mix and apply it:
- Mix Your Vinegar Solution: In a spray bottle, combine equal parts white vinegar and water. Shake well to mix the ingredients.
- Spray the Affected Area: Generously spray the moldy spots with the vinegar solution. Vinegar is a natural disinfectant and will break down mold at its root.
- Let It Sit: Leave the solution to sit for about an hour. This allows the vinegar to penetrate and dissolve the mold.
- Baking Soda Boost for Tough Mold: If you’re dealing with particularly stubborn mold patches, mix baking soda with a little water to create a paste. Apply this paste to the moldy area using a cloth or sponge. Let it sit for 15-20 minutes before wiping it away.
Safety Precautions to Keep in Mind

Even though this method uses natural ingredients, there are still a few safety precautions to consider. Mold spores can be harmful, and it’s always best to take preventive measures:
- Work in a well-ventilated area: This reduces the chances of inhaling mold spores.
- Wear gloves: Protect your hands from possible irritation from the vinegar or contact with mold.
- Wear a face mask if needed: If you have respiratory issues or allergies, wearing a mask will protect you from breathing in mold spores.
How Long to Let the Solution Sit
The key to this method is patience. The vinegar solution should sit on the affected area for at least an hour to ensure it fully breaks down the mold. If you’re using the baking soda paste, let it sit for 15-20 minutes before wiping it away. This gives both solutions enough time to penetrate deep into the mold and effectively remove it.
Wiping Down and Final Touches

After you’ve let the solution do its job, it’s time to clean up the area:
- Wipe Away the Mold: Use a clean microfiber cloth or sponge to gently scrub the mold away. You’ll likely find that the mold comes off easily with minimal effort.
- Rinse the Cloth or Sponge: Periodically rinse your cloth or sponge to avoid spreading mold spores as you clean.
- Final Wipe Down: After the mold is removed, wipe the area with a damp cloth to remove any lingering residue from the vinegar or baking soda. You’ll be left with clean, mold-free walls.
Preventative Measures to Keep Mold from Returning
Once you’ve successfully removed the mold, it’s important to take steps to prevent it from returning. Mold thrives in damp, humid environments, so keeping these areas dry is essential.
- Improve Ventilation: Make sure rooms like bathrooms and kitchens are well-ventilated. Use exhaust fans or open windows after showers or cooking to reduce moisture.
- Use a Dehumidifier: If your home tends to be humid, a dehumidifier can help keep moisture levels in check, making it harder for mold to grow.
- Regular Cleaning: Regularly clean surfaces prone to dampness and mold buildup. This includes wiping down shower walls and kitchen tiles.
- Consider Mold-Resistant Paint: If you’re repainting your walls, consider using mold-resistant paint in high-humidity areas.
Conclusion: A Hassle-Free Way to Mold-Free Walls
Mold can be a stubborn and unsightly problem, but with my nana’s effortless trick, you can tackle it without stress. Using simple household ingredients like vinegar and baking soda, you can effectively remove mold from your walls with minimal effort. Not only is this method cost-effective and environmentally friendly, but it’s also safe and easy to execute. By following the preventive steps outlined, you can keep mold at bay for good. Try it out—you’ll be amazed at how easy mold removal can be!


