In the world of woodworking, some tools may seem simple but play an essential role in achieving precision and consistency. The marking gauge is one such tool. It’s a humble instrument, often overlooked, yet it is critical in any hand-tool shop. A marking gauge allows you to create consistent surfaces with planes, transfer exact measurements from one board to another, and duplicate measurements across similar parts. If you’re looking to elevate your woodworking skills, understanding and using a marking gauge can be a game-changer.
The History of the Marking Gauge

The marking gauge has been around for centuries, dating back to the 18th century and even earlier. Tool inventories from that era often included marking gauges, and they were integral to the craft of many woodworkers. Unlike the manufactured gauges we see today, craftsmen often built their own gauges, personalizing them to suit their specific needs. Toolmakers in the 18th century also sold marking-gauge pins, allowing woodworkers to create their own custom gauges from these components.
Benjamin Seaton, an 18th-century English woodworker, is a notable historical figure connected to the marking gauge. His tool chest, preserved with many of its original contents, includes a beautifully crafted marking gauge known as a “French gauge.” This gauge has unique features, such as a captive wedge for one-handed operation, offering benefits often absent in modern versions. This connection to history underscores the timeless importance of the marking gauge in woodworking.
The Anatomy of a Marking Gauge
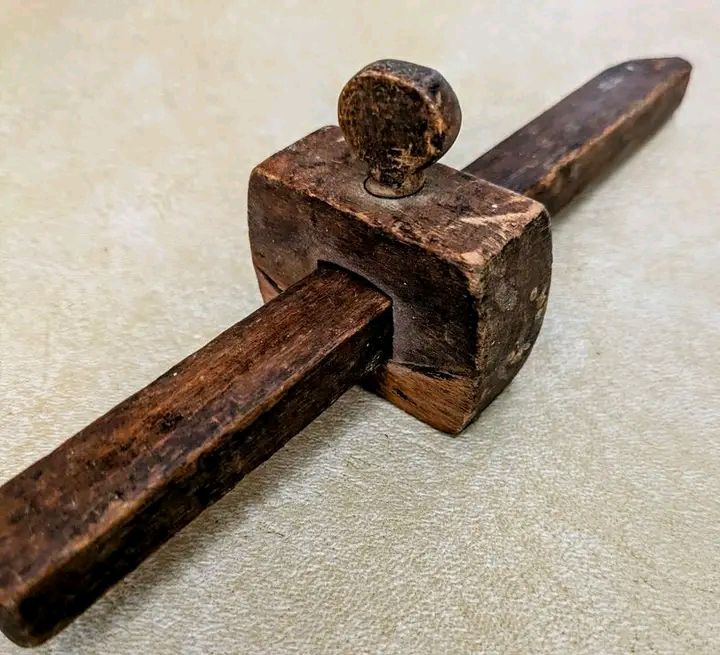
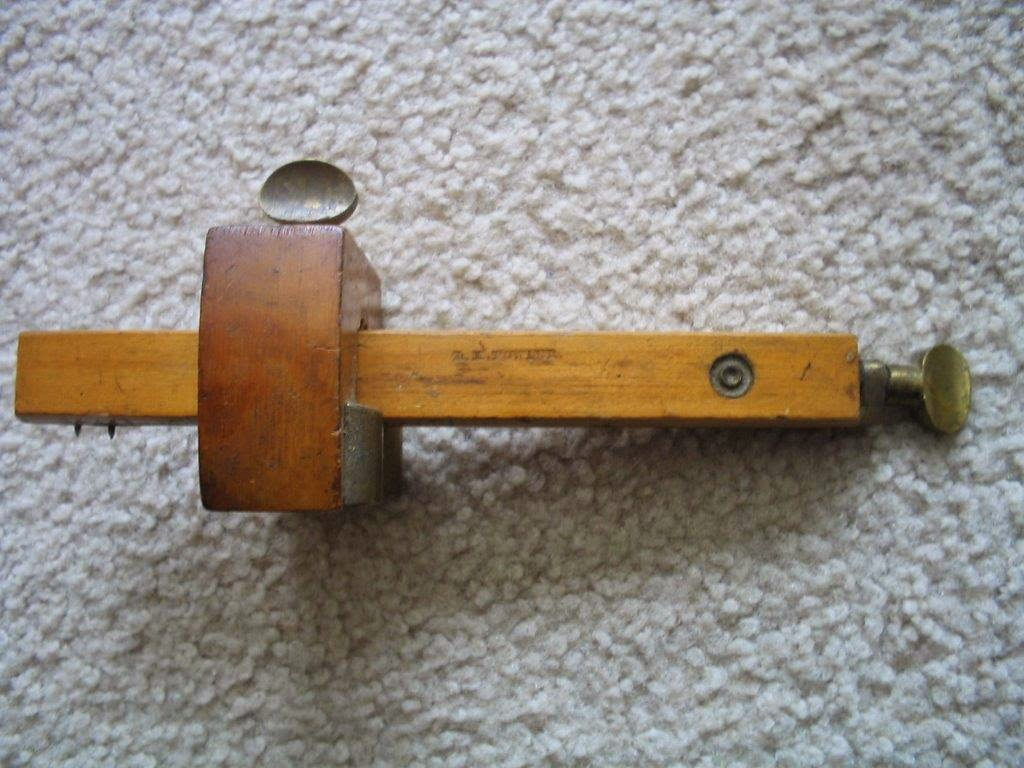
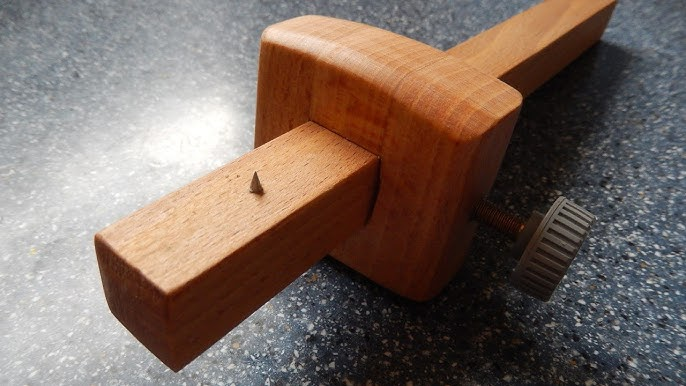
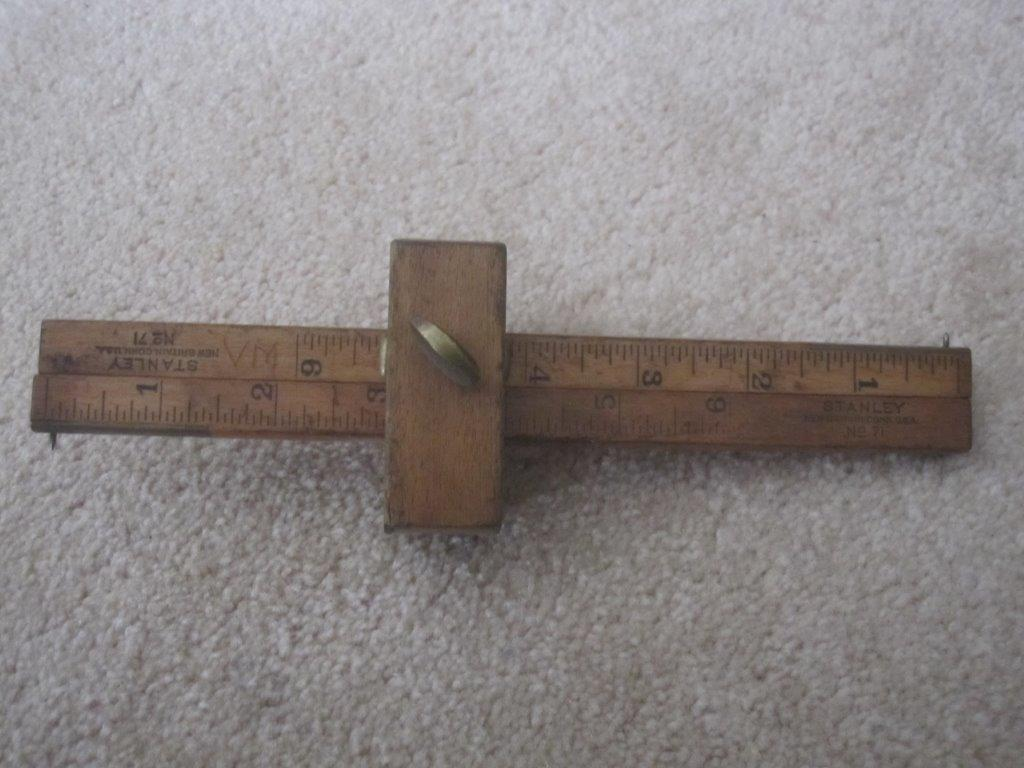
To understand how a marking gauge functions, it helps to know its primary components:
- Head: This is the part you hold in your hand. It serves as the main body of the gauge and often has a comfortable, ergonomic shape. In some designs, the head may be beveled for easier handling and precision.
- Arm: The arm extends from the head and is typically a straight, rectangular bar. This part of the gauge is used to set the measurement, helping you mark consistent lines.
- Pin: The pin is a sharp point attached to the arm, used to scribe or score a line on the workpiece. In homemade gauges, pins can be crafted from cut nails or finishing nails, though some woodworkers prefer harder materials for durability.
- Wedge or Locking Mechanism: This component allows you to adjust and lock the gauge’s arm to a specific measurement. In some designs, a captive wedge enables easy, one-handed operation.
The Seaton marking gauge features a uniquely shaped head and a captive wedge, allowing for quick adjustments. This design ensures that the gauge is not only functional but also comfortable to hold and easy to control, making it an ideal tool for both seasoned craftsmen and beginners alike.
Building Your Own Marking Gauge
If you’re a woodworking enthusiast, building your own marking gauge can be a rewarding project. Not only will you create a custom tool suited to your specific needs, but you’ll also gain insight into its design and function. Here’s a simple guide to crafting a marking gauge inspired by the Seaton tool chest:
- Choose Your Materials: Traditional marking gauges were often made from beech or birch, though hardwoods like maple, cherry, and mahogany work well too. Use 6/4 stock for the head and straight-grained 4/4 stock for the arm.
- Craft the Head: Shape the head to fit comfortably in your hand. A beveled bottom edge helps control the depth of the cut, and a rounded shape offers a secure grip. Drill a hole to accommodate the arm, ensuring a snug fit.
- Prepare the Arm: Cut the arm to your desired length and sand it smooth. A slightly shorter arm can make the gauge easier to store in a tool chest, so adjust based on your workspace requirements.
- Install the Pin: You can use a cut nail or finish nail for the pin, though a 5/64” twist drill bit sharpened on a grinder will hold an edge longer. Attach the pin to the end of the arm, ensuring it protrudes slightly for marking.
- Add the Wedge: If you’re including a captive wedge, carve a small piece of hardwood and fit it to the arm. This will allow you to adjust the arm easily by engaging or releasing the wedge.
Once assembled, your custom marking gauge will be ready for use, providing a handcrafted touch to your woodworking projects.
Using the Marking Gauge for Precision Work

Using a marking gauge might seem straightforward, but there are some techniques that can help you get the most out of this tool. Let’s explore a few tips to improve accuracy and efficiency:
Setting the Measurement
Begin by setting the arm to the desired length. With one hand on the gauge’s head, use your thumb to nudge the arm forward or backward until you achieve the right measurement. Press the wedge to lock the arm in place. A gentle tap on your workbench can help secure the setting, ensuring the gauge doesn’t shift during use.
Marking Long-Grain Lines
For marking long-grain lines, start with a light touch. Angle the gauge slightly so the pin trails behind the arm. This will create a shallow line, which you can deepen with additional passes if necessary. In coarse-grained woods, make a second pass with more pressure to achieve a more pronounced line.
Cross-Grain Marking

When marking across the grain, a gentler touch is essential to avoid tear-out. Hold the gauge at a low angle and apply minimal pressure, allowing the pin to glide across the wood without catching or tearing fibers. For even greater precision, you can scribe the start and end points of the line with a marking knife before using the gauge.
Quick Adjustments for Mortise Marking
If you’re marking a mortise, set the gauge to the offset needed from the face of the workpiece. By barely engaging the pin with the wood, you can drag the gauge until it aligns with your mortise points. This quick-adjustment technique allows for faster, more efficient marking and helps you maintain a steady rhythm while working.
The Marking Gauge: A Tool for Precision and Consistency
The marking gauge may be simple, but it’s a vital tool in the world of woodworking. By enabling consistent lines, accurate measurements, and repeatable results, a marking gauge helps transform raw wood into finely crafted pieces. Whether you’re a hobbyist or a professional, this tool deserves a place in your toolbox.

Conclusion: Embrace the Tradition of the Marking Gauge
The marking gauge is more than just a tool—it’s a link to centuries of woodworking tradition. By understanding its purpose and mastering its use, you can achieve greater precision in your projects and appreciate the artistry that goes into every piece. Whether you buy one or build your own, this simple tool will undoubtedly become one of your most valuable assets in the workshop.
So, the next time you embark on a woodworking project, reach for your marking gauge. Embrace the precision it offers, and let it guide you toward a finished product that reflects both skill and dedication. Happy woodworking!


